
SHIBABO: The Budget-Friendly 3D Printed ESP32 keyboard
1. Motivation behind the creation
It all began with a talk with my girlfriend. She mentioned that some of her coworkers were using a HHKB keyboard over their MacBook Pro’s built-in keyboard. She was intrigued by the unique typing experience and satisfying sound it offered. However, when she discovered the high cost of the HHKB (¥33500+tax = 36 hours of work!1 ), she decided to reconsider her purchase decision. This got me thinking, why spend a so much on a fancy keyboard when I can create one for my girlfriend that’s just as cool and satisfying to use? And so, my frugal spirit led me on a journey to discover the world of custom keyboards and find a way to make one that’s just as good, but with a more economical price tag.
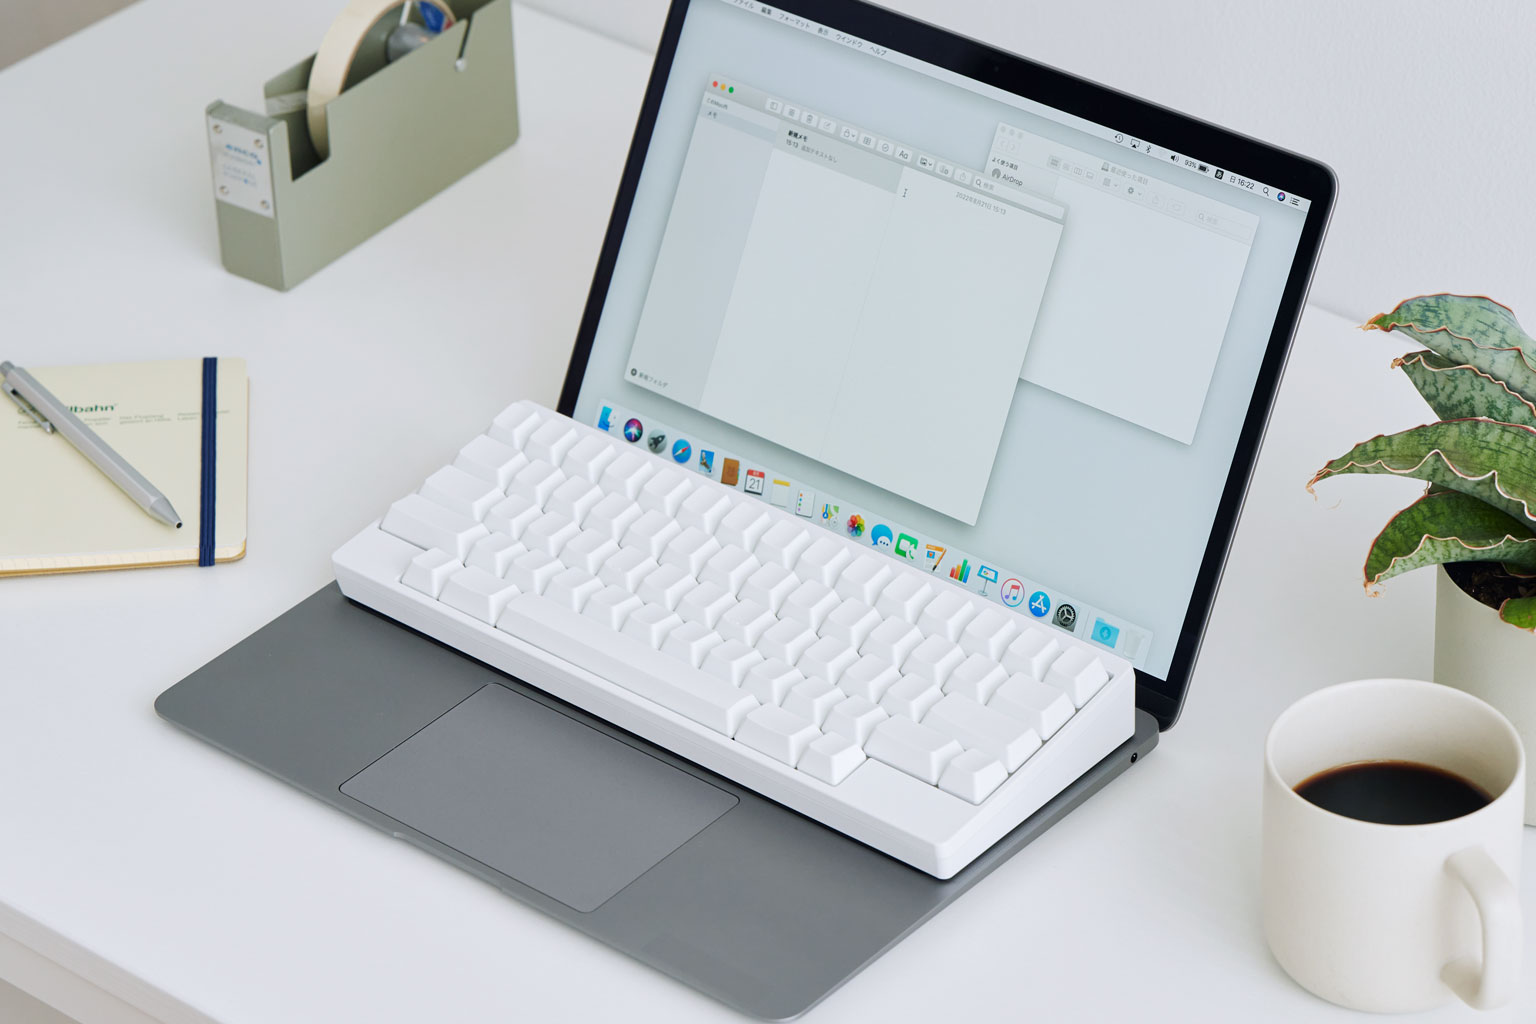
HHKB keyboard over MacBook Pro’s keyboard src
2. Development Process
2.1. Researching
I gone down the rabbit hole into the world of mechanical keyboard customization and learned a lot about about what’s so fascinating about it. During this time, my YouTube recommendations were filled with videos about keyboards.
Here’s my simple and 6-year-old-friendly explaination for each components.
- Case: The part holding everything together, you can think of it like a box to keep your toys.
- Keycaps: The part your finger press, usually made out of plastic like your toy cars.
- Keyswitches: It’s basically switches with a spring inside, similar to the light switch in your home, but they stay off until you press them.
- Mounting Plate: This helps keep the keys (switches and keycaps) properly aligned and provides a more solid typing experience. Some keyboard don’t have it.
- PCB (Printed Circuit Board): This is the part of the keyboard where the switch is connected and transforms your pressing motion into an electrical signal that the computer recognizes as a key press. The keyboard doesn’t measure the strength of your key presses, so there’s no need to hit them hard when typing.
- Stabilizers: For longer keys like the spacebar and shift, these are necessary to keep them from wobbling. No one wants to type on keys that feel like a seesaw.
Please note that the above list includes only the most fundamental components of creating a keyboard. There are many other elements to consider, such as adding dampening foam underneath the PCB inside the case to minimize noise and vibrations from typing, or lubing the switches to reduce friction for a more satisfying experience. (yes, you read that right..)
2.2. Defining Specifications & Requirements
After gaining an understanding of the components that make up a keyboard, I began to discuss with my customer (my girlfriend) to determine their minimum requirements for a keyboard. Fortunately, her requirements for a keyboard are minimal as long as it is compatible with her MacBook Pro and performs well. The following are the specific requirements we have outlined:
- Bluetooth capabilities
- Works with MacOS (because she’s using MacOS)
- Linear switches
- Able to fit onto Macbook keyboard
- 3D printed housing (because I can design and manufacture it with my 3D printer)
- A lot cheaper than HHKB!
2.3. Conceptualization and Design
Once I have a clear idea of the specific requirements I need the keyboard to achieve, I can begin the process of conceptualizing and designing the product. Where the creative process begins. To make the keyboard usable over her Macbook Pro keyboard, I opted for a tenkeyless form factor with a 65% layout. This layout features arrow keys, which are frequently used, while eliminating the rarely used fn row.
For the microcontroller, I chose the budget-friendly ESP32, as it offers Bluetooth capabilities and I am familiar with it. In terms of PCB, I decided to hand-solder the components to keep costs low. However, this decision turned out to be a mistake (more on that later).
Leave a comment